Our family loves to travel. Whether we go camping at a state park or skiing in the winter. The experiences are priceless.
They are more than vacations. They are opportunities to teach our children. The benefits of travel seem endless.
-
Education – learn about the world through experiences
-
Digital Detox for everyone
-
Bonding Time for the family and the kids
-
Decision Making (more on this one soon)
-
Socialization – see other cultures, communicate with adults
-
Adaptability – puts kids in new situations
-
Planning/Logistics – give kids more responsibility
-
Perspective – put yourself in other’s shoes, if they own them
-
Try new stuff – food, experiences, etc.
-
Collect experiences, not things
-
Learn more about yourself
-
Force boredom – it is a good thing!
-
Drop daily distractions
-
Create a motivation to learn whether kids know it or not
With endless possibilities and opinions, planning travel can be tough. In our house, it means putting off the decision. More often than not, Jamie and I would decide and then tell the kids where we were going.
There had to be a better way. Travel planning should be fun and educational. Up to this point, it was neither.
Then it hit me. We need to run a sprint. Don’t get your Nike’s out yet. A sprint, is a method used in product design and development. It accelerates idea generation and decision making.
The goal was simple, plan the next 12 months of travel. Here is how we did it.
Step 1: Brainstorm Destinations
The first step is to create a list of destinations. Pinterest is a great resource. You will find thousands of posts related to family travel, road trip ideas and more. Once you find some good options, save them on a board. Here is an example of my travel board.
Be sure to include everyone in this process. Ask your children to name their top three vacation ideas. Then ask them why. This will spark more destination ideas.
I recommend you take 30 days for this step. The goal is to create a list that has variety and about 25 options.
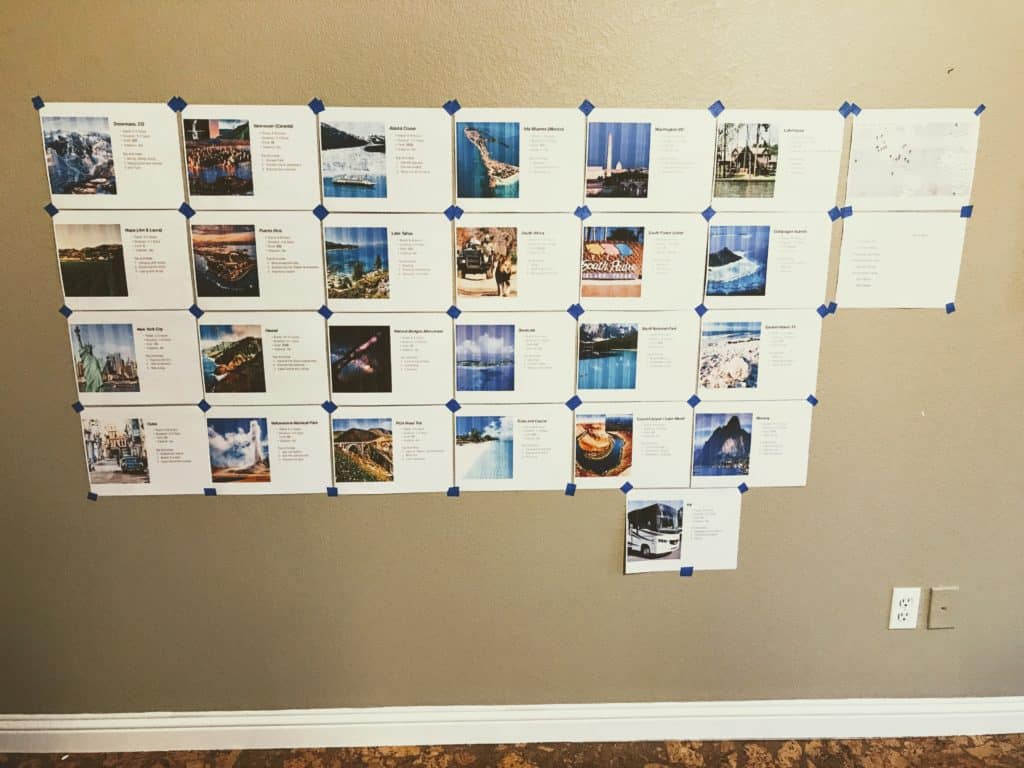
Once your list is complete, create a Keynote or PowerPoint presentation. Create a slide for each destination. Include a picture and other relevant information to help the voting the process. Here is the one I created.
Next, create a map of your destinations. I used ZeeMaps, but you can also print out a map and do this by hand.
The final step is to create a template with the dates you plan to travel. You will fill this in at the end of the process.
Step 2: Setup the Room
You need to do a little shopping next. Here is the list of supplies:
- Blue painters tape
- Sticky Dots
- Paper
- Pens
- Color printout of your presentation
Now pick out an area in your house that has a large wall. Tape up every printout to make it easy for the kids to see.

Once you are ready, gather the family and explain the rules.
Rule #1: No electronics
Rule #2: Ask questions
Rule #3: Have fun
Step 3: Discuss the Destinations
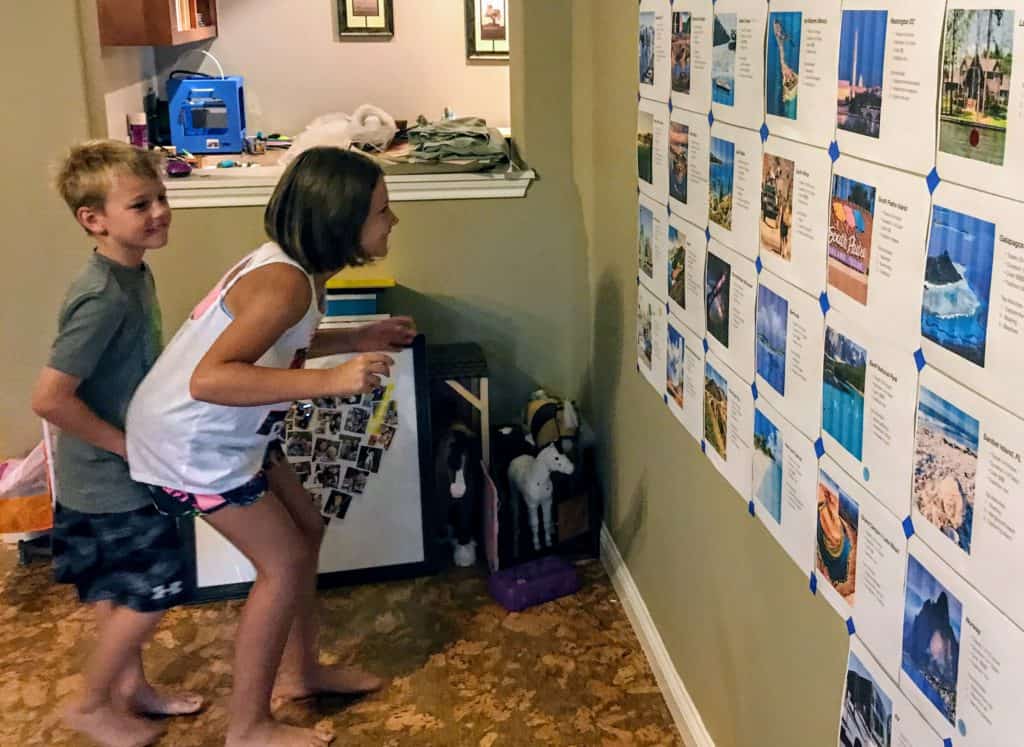
Now the real fun begins. Start by walking through each destination. Try to bring it to life for the kids. In the process, ask them to find it on the map. Talk about the language they speak (if it is a foreign country). Mention a few random facts. Encourage the kids to ask questions.
Once everyone understands each spot, it is time to move on to the voting.
Step 4: Voting: Round 1
A good way to ease kids into this process is to remove some of the choices. In this round, everyone will vote on their favorite NEW experience.
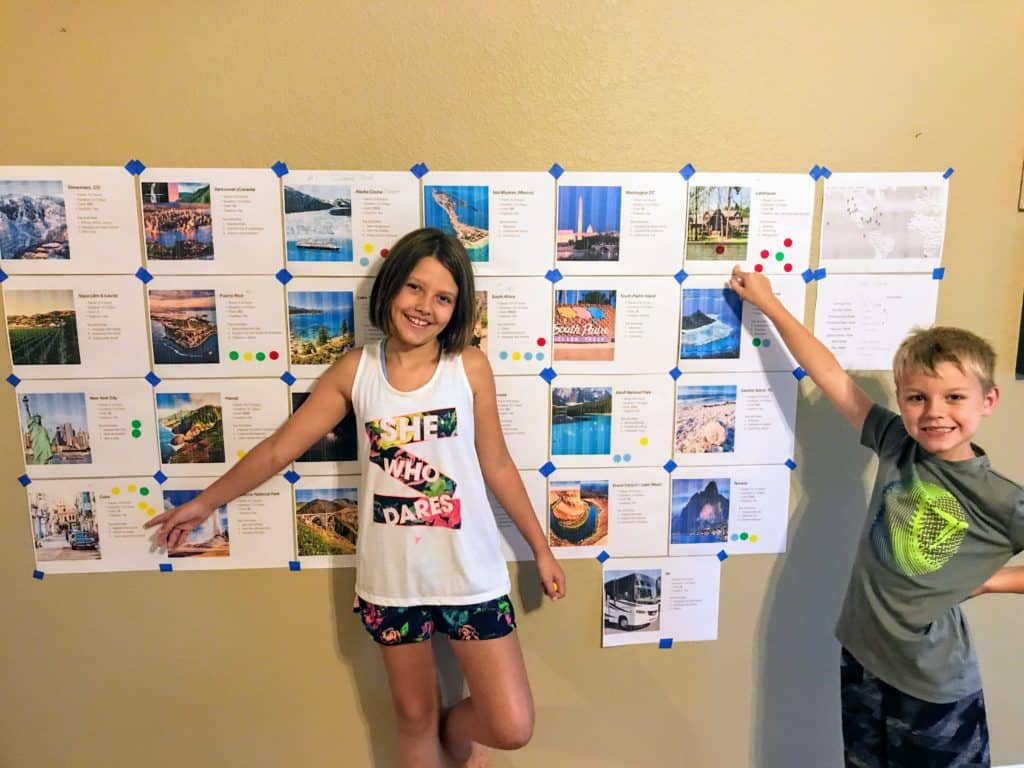
Pass out five sticky dots for each person. You can put them all on one destination or spread them out over a few choices. Every dot counts the same. Sorry Mom and Dad, there are no super-votes!

At the end of the voting add up the dots. Congratulations! You have your first destination set. If you end up with a tie, give everyone 3 more dots and let them vote between the top choices.
To avoid group think, you can use a pen and paper to mark your votes in private. Then cast your votes with your stickers. We didn’t have any issues with group think. Everyone seemed to have a strong opinion about what they wanted to do.
Step 5: Voting: Round 2
Repeat the process, but open up the voting to every destination. At this stage you are likely to have ties, so keep voting until you have a clear list of winners.
Step 6: Set the Calendar
After you have your list, find the best times for each trip and set your calendar. You may find that a destination doesn’t line up with your travel dates. For example, it is tough to go skiing in the summer. In this case, go back and pull the next spot in line.
Step 7: Plan the trips
Now get to planning and go enjoy your vacation!
We had a blast going through this process. The kids still love to talk about it to friends and adults alike. Let me know how it goes for you. If you have any tips or tricks, please post those as well.


